

DIY Wedding Invitations
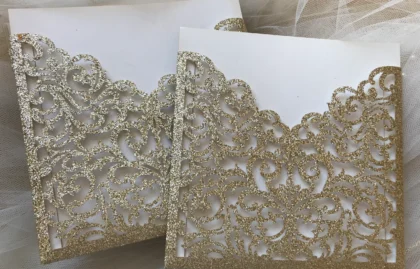
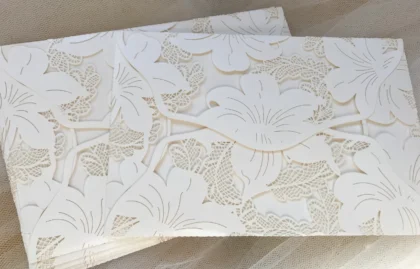
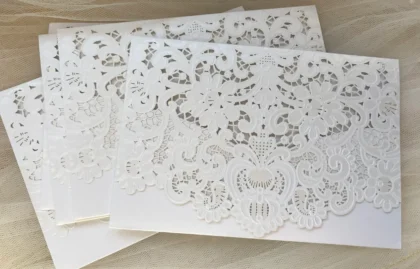
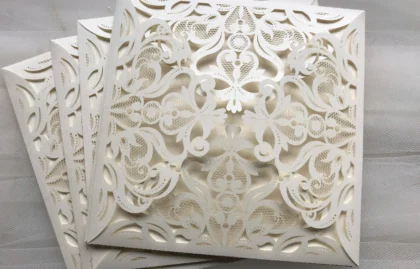
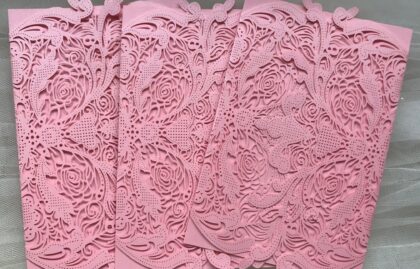
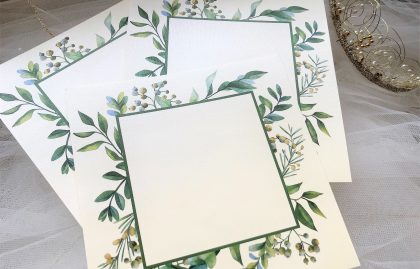
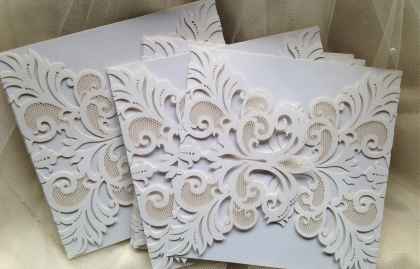
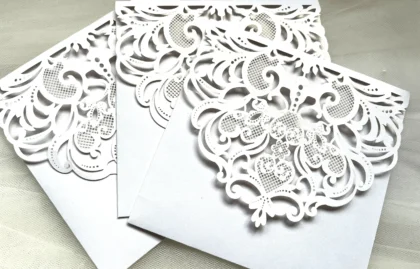
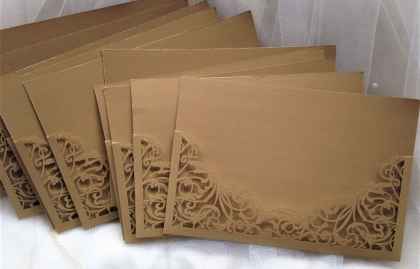
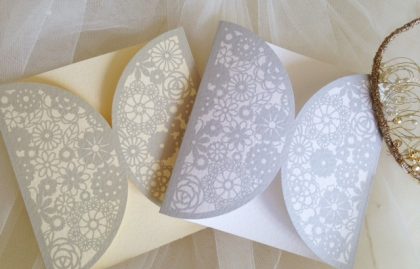
DIY wedding invitations and wedding stationery items start from just 60p each.
This high quality DIY wedding stationery is perfect for brides who have chosen to make their own wedding invitations.
The perfect choice for couples who have a small budget but who still want the same top quality, heavy weight card and quick delivery!
We offer excellent value for money and we’re one of the cheapest wedding invitation suppliers on the web. Top Rated UK Wedding Stationery Printing Company. Read our reviews!
Wedding Invitations by Daisy Chain Invites
Why make your own wedding invitations when we can save all the stress and hassle and supply beautiful professionally printed wedding invitations on thick card stock from just 60p each.
Although making your own wedding invitations may, at first, appear a good way of saving more of your wedding budget for other extra’s on the day, they usually end up costing more than you planned.
You may need to invest in a better quality printer, as most home printers will not take thick card through their rollers. If you decide to print your invitations on paper instead, you then need to glue them onto backing card which can seem a bit amateurish as the glue can often show through the paper.
You will also need to buy a paper cutter or trimmer and a bone folder which is all added expense on top of the actual cost of materials. Card, paper, ribbon, embellishments, envelopes, glue and velcro closers.
For some brides making their own wedding invitations offers them the opportunity to show their creative flair and enables them to produce exactly the design they’d like. For others it is a chore, is time consuming and stressful when there are other details to be organised for the day.
Those brides who prefer to delegate the job to a professional printer, but who do not wish to spend huge amounts of money on stationery, Daisy Chain Invites produce classy, quality wedding invitations and matching stationery for low affordable prices. Our invitations are printed using a commercial printer directly onto thick hammered card for a crisp quality finish.

Creating Your Own DIY Wedding Invitations: A Step-by-Step Guide
Crafting your own wedding invitations is a heartfelt way to add a personal touch to your special day. Not only does it allow you to showcase your creativity, but it can also be a cost-effective alternative to professionally printed invitations. This guide will walk you through the process of designing and assembling beautiful DIY wedding invitations, from planning to mailing.
Why Choose DIY Wedding Invitations?
DIY wedding invitations offer several benefits:
Personalisation: Customise every detail to reflect your wedding’s theme, colours, and style.
Budget-Friendly: Save money compared to hiring a professional designer or stationer.
Memorable Keepsake: Handcrafted invites become cherished mementos for you and your guests.
Creative Control: Express your unique vision, whether it’s rustic, modern, or vintage.
Materials You’ll Need
Before diving in, gather these supplies:
Cardstock: Choose high-quality cardstock (80-110 lb) in your desired colours for the invitation base.
Printer: A reliable home printer or access to a print shop for crisp results.
Design Software: Free tools like Canva or paid options like Adobe Photoshop or Illustrator.
Embellishments: Ribbons, wax seals, twine, or lace for added flair.
Cutting Tools: Paper cutter, scissors, or a craft knife for precise edges.
Envelopes: Standard A7 (5×7 inches) or custom sizes to fit your design.
Adhesives: Double-sided tape, glue sticks, or adhesive dots for assembly.
Optional Extras: Envelope liners, stickers, or calligraphy pens for personalisation.
Step-by-Step Process
Plan Your Design
Define Your Theme: Align the invitation with your wedding’s aesthetic (e.g., floral, minimalist, bohemian).
Choose a Colour Palette: Select 2-3 colours that complement your wedding decor.
Decide on Size and Format: Standard sizes like 5×7 inches are easiest for printing and mailing. Consider single cards, folded cards, or layered designs.
Gather Inspiration: Browse platforms like Pinterest or Etsy for ideas but make the design your own.
Create the Design
Use Design Software: Canva offers free templates tailored for wedding invitations. Customise fonts, colours, and layouts to match your vision.
Include Key Information:
Couple’s names
Date, time, and location of the ceremony
Reception details (if applicable)
RSVP instructions (e.g., website link, phone number, or included RSVP card)
Dress code or special notes (optional)
Incorporate Graphics: Add elements like floral illustrations, monograms, or watercolour backgrounds. Ensure graphics are high-resolution (300 DPI) for printing.
Proofread Carefully: Double-check spelling, dates, and details to avoid errors.
Print Your Invitations
Test Print: Print a sample on regular paper to check alignment and colours.
Use Quality Cardstock: Opt for matte or glossy cardstock depending on your design. Ensure your printer can handle thicker paper.
Professional Printing Option: If your home printer isn’t up to par, use a local print shop or online service like Vistaprint or Shutterfly for professional results.
Assemble the Invitations
Cut and Trim: Use a paper cutter for clean, straight edges. If layering multiple pieces (e.g., backing card and main invite), ensure precise measurements.
Add Embellishments: Tie ribbons around the invite, apply wax seals, or glue on small charms. Keep embellishments flat to avoid mailing issues.
Include Additional Cards: If needed, add RSVP cards, direction cards, or accommodation details. Use smaller cardstock (e.g., 3.5×5 inches) for inserts.
Line Envelopes (Optional): Create custom envelope liners using decorative paper or printed designs. Secure with adhesive.
Address and Mail
Handwrite or Print Addresses: For a personal touch, use calligraphy or a nice pen to address envelopes. Alternatively, print labels or use a calligraphy font.
Check Postage: Non-standard sizes or heavy embellishments may require extra postage. Visit your post office to confirm rates.
Seal with Style: Use custom stickers, washi tape, or wax seals to close envelopes.
Mail on Time: Send invitations 6-8 weeks before the wedding, or 10-12 weeks for destination weddings.
Tips for Success
Start Early: Give yourself 2-3 months to design, print, and assemble to avoid last-minute stress.
Order Extra Supplies: Print 10-15% more invitations than needed for mistakes or last-minute guests.
Keep It Simple: Elegant designs often have clean layouts and minimal embellishments.
Ask for Help: Enlist friends or family for assembly to make it a fun group activity.
Save a Sample: Keep one invitation as a memento for your wedding scrapbook.
Budget Considerations
Cardstock: £10-£30 for 100 sheets, depending on quality.
Envelopes: £5-£15 for 50, with liners costing £10-£20 more.
Embellishments: £5-£20 for ribbons, seals, or stickers.
Printing: £0 (home printer) to £50-£100 (professional printing for 100 invites).
Total Estimate: £30-£100 for 50-100 invitations, compared to £50-£500 for professional ones.
Common Mistakes to Avoid
Overcomplicating the Design: Too many elements can look cluttered and be hard to assemble.
Ignoring Postal Rules: Check size and weight restrictions to avoid returned mail.
Skipping Proofreading: Errors in dates or names can be costly to fix.
Underestimating Time: Assembly, especially with embellishments, takes longer than expected.
Final Thoughts
DIY wedding invitations are a rewarding way to infuse your personality into your big day. With careful planning, quality materials, and a dash of creativity, you can create stunning invites that set the tone for your celebration. Whether you go for elegant simplicity or intricate details, your guests will appreciate the love and effort you put into every card.
Happy crafting, and congratulations on your upcoming wedding!